Painting the interior of a room can transform its look and feel, giving it a fresh and updated appearance. However, to achieve a professional and clean finish, it’s essential to use the right tools and techniques. One such tool that is crucial for a successful paint job is masking film with tape. In this guide, we will walk you through the process of interior painting and emphasize the importance and proper use of masking film with tape.
Preparing the Room for Painting
Before you start painting, it’s important to prepare the room properly. This includes moving furniture to the center of the room or covering it with drop cloths to protect it from paint splatters. Remove any wall hangings, switch plates, and outlet covers. Clean the walls with a mild detergent and water to remove dirt, dust, and grease. Allow the walls to dry completely before proceeding.
Choosing the Right Paint and Tools
Selecting the right paint and tools is essential for a successful paint job. Consider the type of room, lighting conditions, and your personal style when choosing a paint color. For interior painting, you will need paint brushes, rollers, trays, and paint. You may also want to invest in a paint sprayer for larger projects.
Using Masking Film with Tape
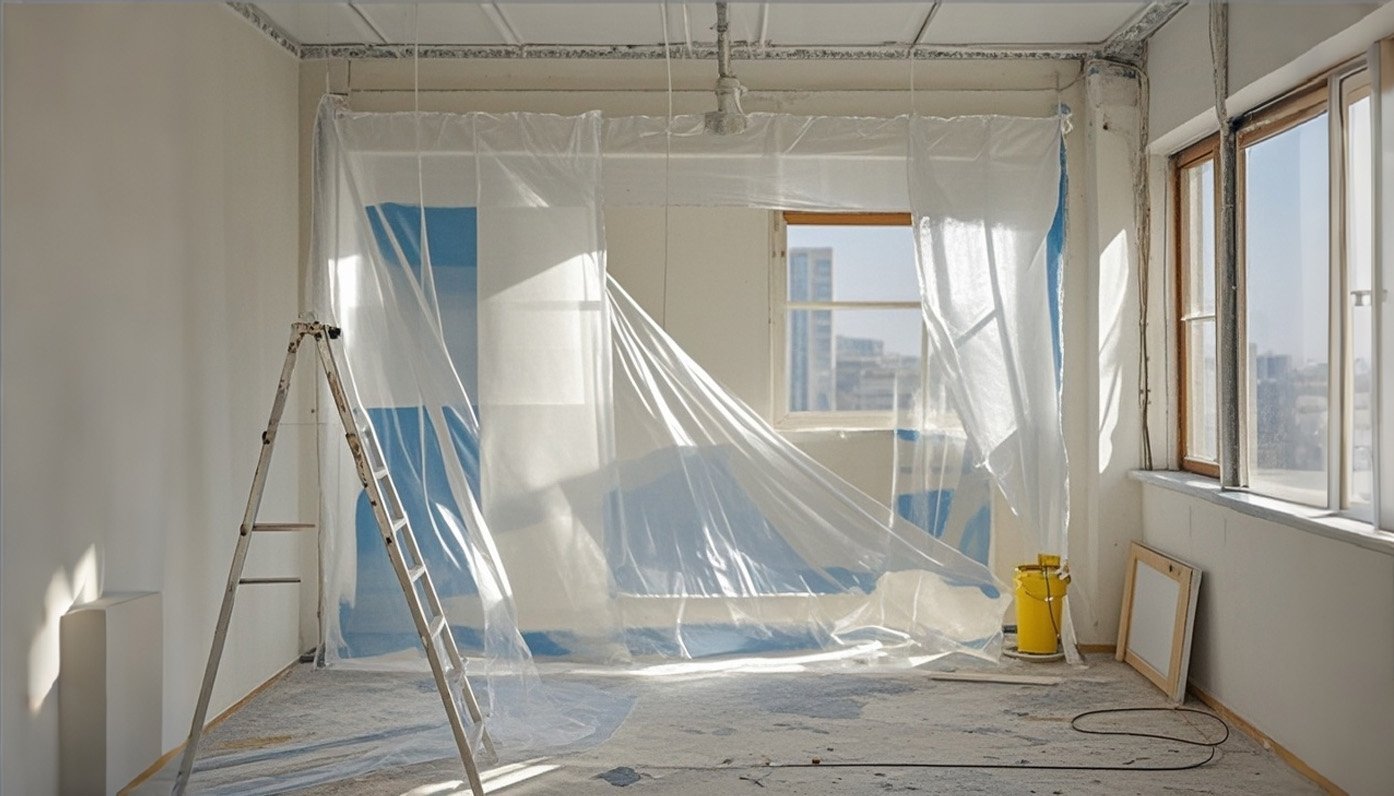
Masking film with tape is a must-have for any interior painting project. It helps protect areas that you don’t want to paint, such as windows, trim, and baseboards. Here’s how to use it effectively:
1、Measure and cut the masking film to the appropriate size. Make sure it’s long enough to cover the entire area you want to protect.
2、Apply the tape along the edges of the masking film. Press down firmly to ensure a good seal.
3、Carefully place the masking film over the area you want to protect. Smooth it out as you go to avoid wrinkles and bubbles.
4、Once the masking film is in place, you can start painting. Be careful not to get paint on the masking film, as this can cause it to peel off.
The Benefits of Masking Film with Tape
Using masking film with tape offers several benefits for interior painting:
1、Protection: It protects areas that you don’t want to paint from overspray, drips, and splatters. This helps ensure a clean and professional finish.
2、Precision: Masking film with tape allows you to create clean lines and edges, giving your paint job a more refined look.
3、Time-saving: By protecting areas that you don’t want to paint, you can save time on clean-up and touch-ups.
4、Versatility: Masking film with tape can be used on various surfaces, including glass, wood, and metal.
Painting the Walls
Once you have prepared the room and applied the masking film with tape, it’s time to start painting. Begin by cutting in around the edges of the walls with a brush. Then, use a roller to apply paint to the larger areas. Apply several thin coats rather than one thick coat to ensure even coverage and avoid drips and runs.
Finishing Touches
After the paint has dried, carefully remove the masking film with tape. Start at one end and peel it back slowly to avoid pulling off any paint. Inspect the walls for any areas that need touch-ups or additional coats of paint. Replace switch plates and outlet covers and hang any wall decorations.
In conclusion, interior painting can be a fun and rewarding project. By following these steps and using masking film with tape, you can achieve a professional-looking finish and protect your surfaces from paint damage. Whether you’re painting a single room or an entire house, masking film with tape is an essential tool for a successful paint job.